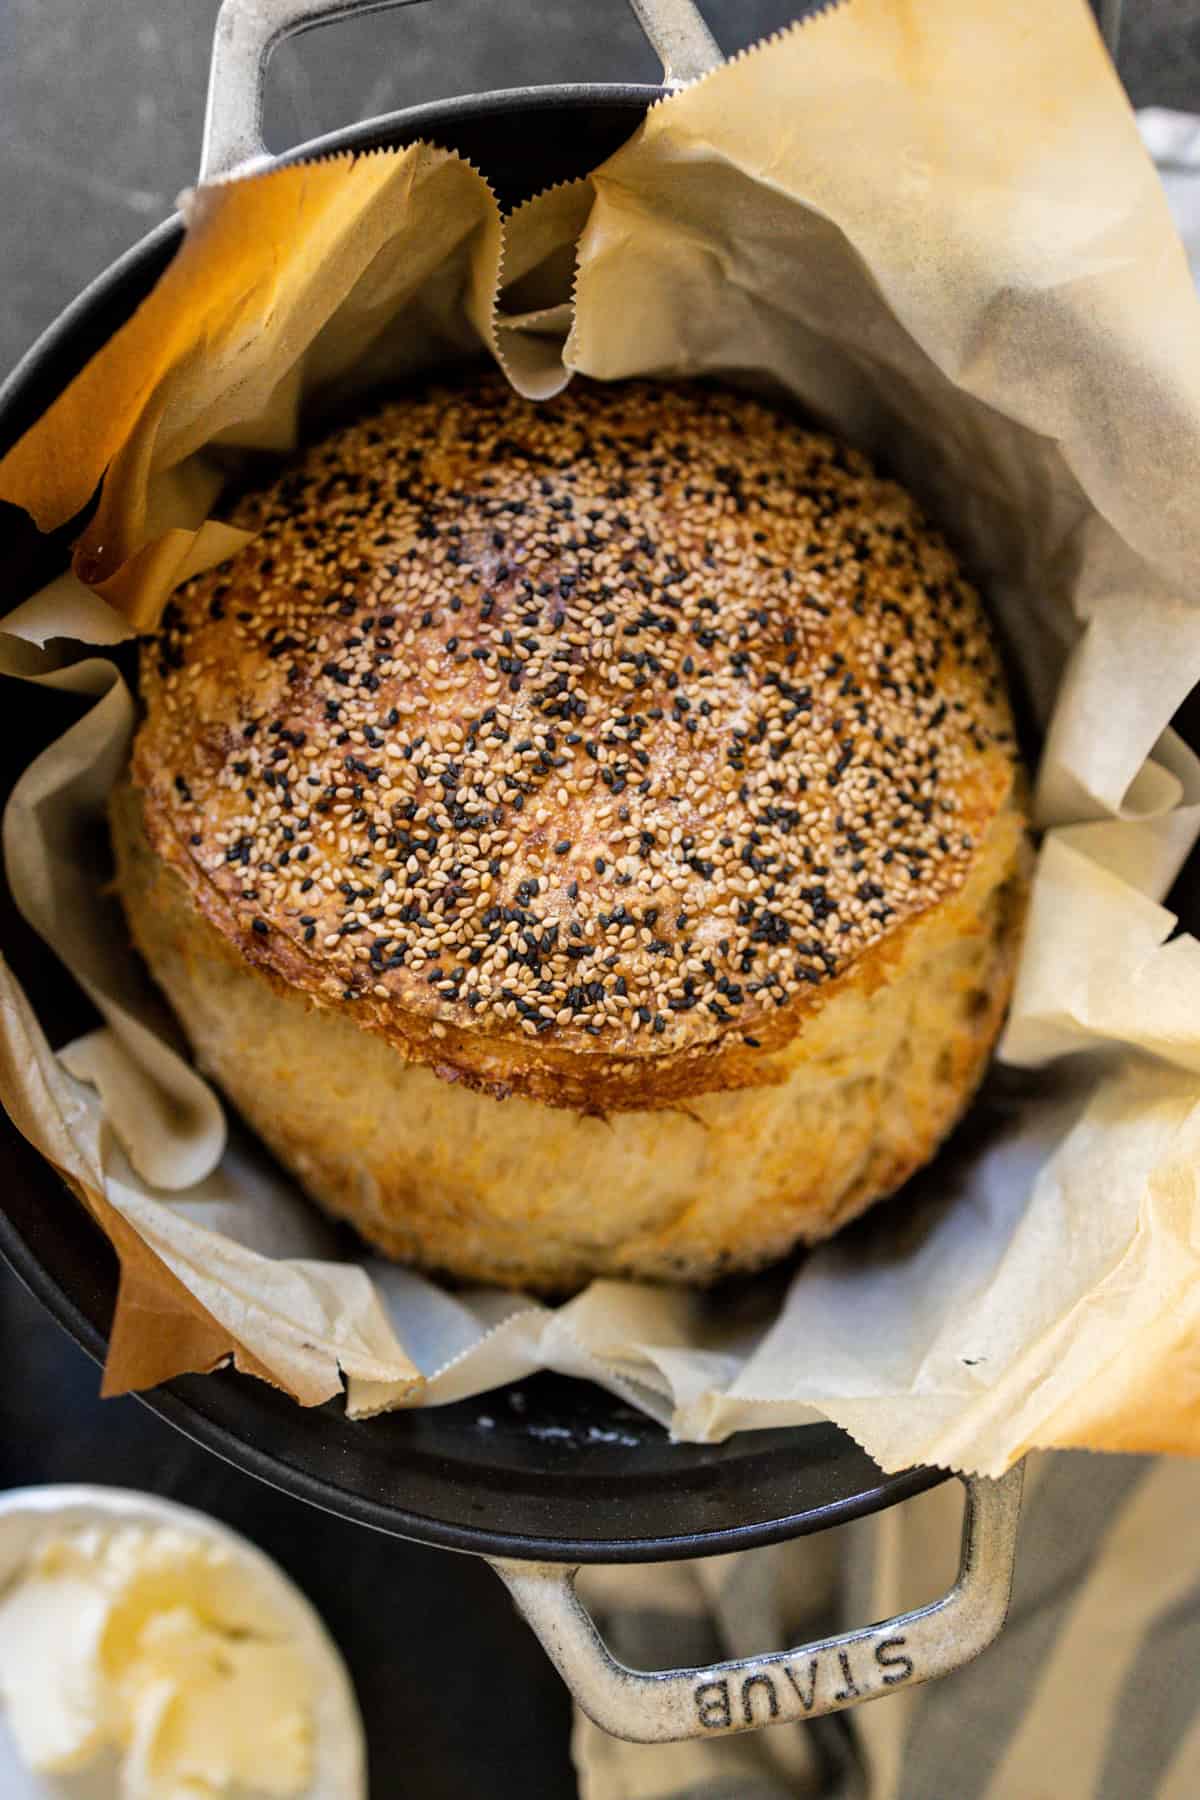
Beginner Sourdough Artisan Round Loaf
New to sourdough? This loaf is a less sticky, more gracious and easier version of your traditional round sourdough loaf. Plus, you don't sacrifice any of the taste, it's so delicious!
Print
Servings: 1 Loaf
Equipment
- 1 Banneton
- 1 Dutch or French oven
Ingredients
- 145 Grams Bubbly sourdough starter
- 330 Grams Lukewarm water
- 9 Grams Salt
- 515 Grams Flour
Instructions
- This recipe needs 145g of bubbly starter. I like to feed my starter at 8:00PM so it is at its peak active state by 8:00AM.
- In a large bowl, combine your starter and water. Stir well. Add in your flour and sprinkle the salt on top. Using your fingers in a swirling motion, combine all the ingredients until the dough is without any dry bits. Do not knead the dough, just continue to move and swirl it around until everything is one loose lump. Your dough will feel sticky and rough. This is normal before the gluten starts binding.
- Take a tea towel and get it wet, wring out the excess water and place over your dough. This will help it from creating a hard crust on top in between stretch and folds.
- Between 30-45 minutes, begin your first stretch and fold. I like to wet my fingers to help the dough stick less to my hands. Take your fingers, tuck them gently under the dough and pull the dough upwards softly. With that length of dough fold it over the dough in the bowl and repeat until you have done a complete circle of stretch and folds. It may take about 5-8 turns.
- Place the wet towel over your bowl again to keep your dough moist. For the next 12 hours, ever 1-2 hours complete a set of stretch and folds. With each stretch and fold, you will notice the dough becoming more elastic, less sticky and easier to wield. As time goes on, the dough will become very round and ball shaped. This is exactly what we want.
- At the end of the 12 hours, take your banneton and dust it with a heavy amount of flour. I like using rice flour since it is very light and does not stick to the bread as heavily as bread flour, but either will do. Remember to dust the banneton generously because we DO NOT want our dough to stick to our cloth liner.
- Do one last stretch and fold here to help your dough form into a round lump and not loose.
- This is optional, but feel free to take the smooth side of your dough and roll it in sesame seeds or cornmeal. It creates a beautiful flavour and look.
- Taking the rounded, smooth side of your dough, place it into your banneton this side down. Cover with your damp towel OR dust the top with more flour and cover with a dry towel. Either way works but I have had people tell me sometimes the dough can stick to their wet towel. My towels are very tightly spun linens and denim, so I do not personally experience this.
- Leave in the fridge overnight!
- When you are ready to bake your loaf next day, place your Dutch oven into the oven. Preheat your oven to 500 degrees with the dutch oven inside.
- In the meantime, take a piece of parchment paper and tip your banneton of dough out on it and pull the banneton up and away from the dough. You should have a nice mound to work with. Score (or cut) in the bread a solid 1/2 inch deep cut going from one side of the dough to the other. This will help an ear form in the bread helping it baking and rise well.
- When the oven has heated to the 500 degree setting, remove your Dutch oven and grabbing hold of the sides of the parchment paper, gently place it in the oven and put the lid on.
- Place the sourdough into the oven for 20 minutes. This will create a beautiful foundation for a crisp crust. After 20 minutes, remove the sourdough from the oven, take off the lid, and place back into the oven at 450 degrees for 15 minutes or until a rich brown crust has developed.
- Wait to cut for at least 30 minutes to ensure a structured crumb.
Notes
Do not have warm or very warm water for this recipe. Lukewarm or even room temperature is perfect. Anything too warm will kill your starter and its ability to ferment and rise your dough.