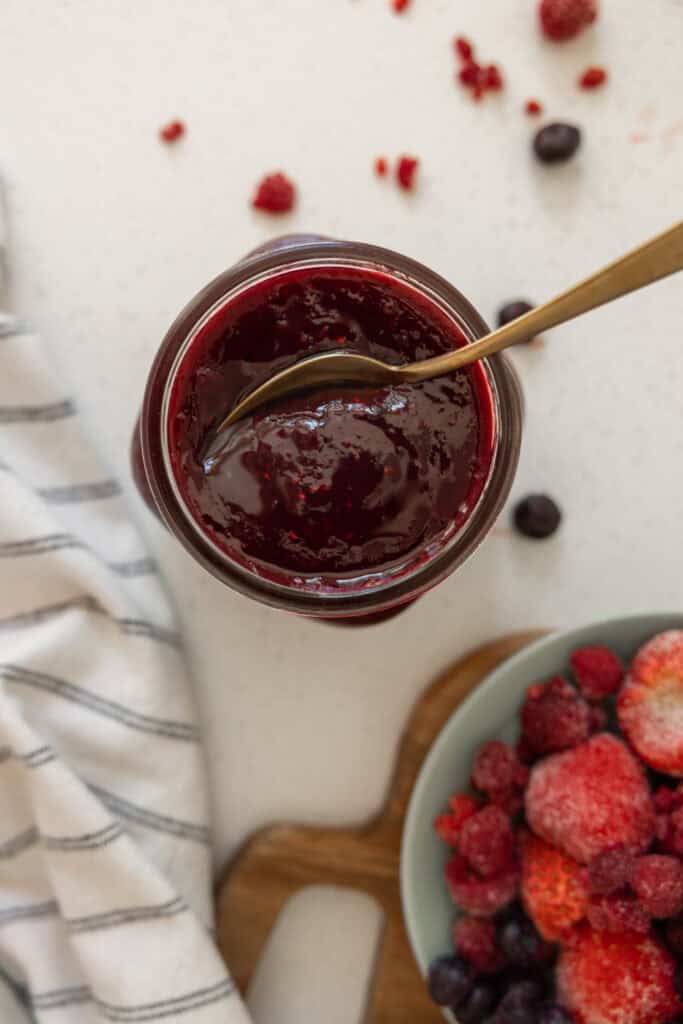
There is nothing quite like homemade jam. But, if you are like me and can’t stand the thought of spending hours on end canning, this is for you. My quick refrigerator jam is simple, so delicious and requires basic equipment and ingredients. You will never buy storebought jam again!
We are daily consumers of peanut butter and jelly sandwiches. And because of that, we need a good jam on hand at all times.
This quick refrigerator jam recipe is, just like the name implies, fast to make and very simple. Plus, you can use this recipe with a variety of berries to create the jam you want. We love making strawberry jam or a tri-berry jam.
For years I bought jam from our local store and didn’t realize the amount of unnecessary ingredients were used to make it. Glucose, gums and even some with red-40 made me rethink my jam I was feeding my family everyday. I decided it was time to make my own from home. Not only did we save $ BUT we fueled our bodies with better ingredients!


Quick Refrigerator Jam Ingredients
- Frozen Berries: We use frozen berries from the store OR use up some of our frozen berry stash from the previous summer. Our favorite mix of berries is strawberry, blueberry and raspberry!
- Lemon Juice: This helps with flavour and preserving your jam.
- Sweetener: You can easily make this suite your sugar preferences. Honey or cane sugar works great here. I sometimes cut the sugar in half if we are working with a very sweet berry.
- Cornstarch/Gelatine: I use whatever I have on hand. This is a thickening agent for your jam.
To make and store this recipe, I use these tools. Click the text to shop:
*Some links are affiliate*
Reduce the amount of thickening agents if you want this to act as more of a syrup for waffles or pancakes!
How To Make Quick Refrigerator Jam
First, grab your kitchen scale and a pot. Again, we are using simple tools here! Make sure you have the ingredients ready to go, because once it gets started, it goes by quick. That is how fast and easy this recipe is!

STEP 1: MIX AND HEAT
In a medium sized pot, add in your berries, lemon juice and sweetener of choice. Give this a good stir. Bring to a medium heat for about 5 minutes and keep the lid on. This will help to thaw the frozen berries.
STEP 2: THICKEN
Once the berries have become thawed and the berries are quite soupy, grab your cornstarch, gelatine or other thickener.
Sift or add in your thickener and give this a constant stir for a few minutes. Let the jam then sit at a medium low heat for another 5-10 minutes. It may bubble a bit! Feel free to stir if concerned about the heat cooking the jam too much.
STEP 3: BLEND
Once the jam has thickened visibly, grab your hand blender or other tool like a ground beef press or even ladle spoon and start blending or squishing the berries. I like a smooth jam with a few chunks here and there. Blend or squish until desired consistency.
Remove your jam from heat and let it cool another few minutes before transferring them into jars.
Stay In The Loop!
Sign up and get my recipes sent right to your inbox!
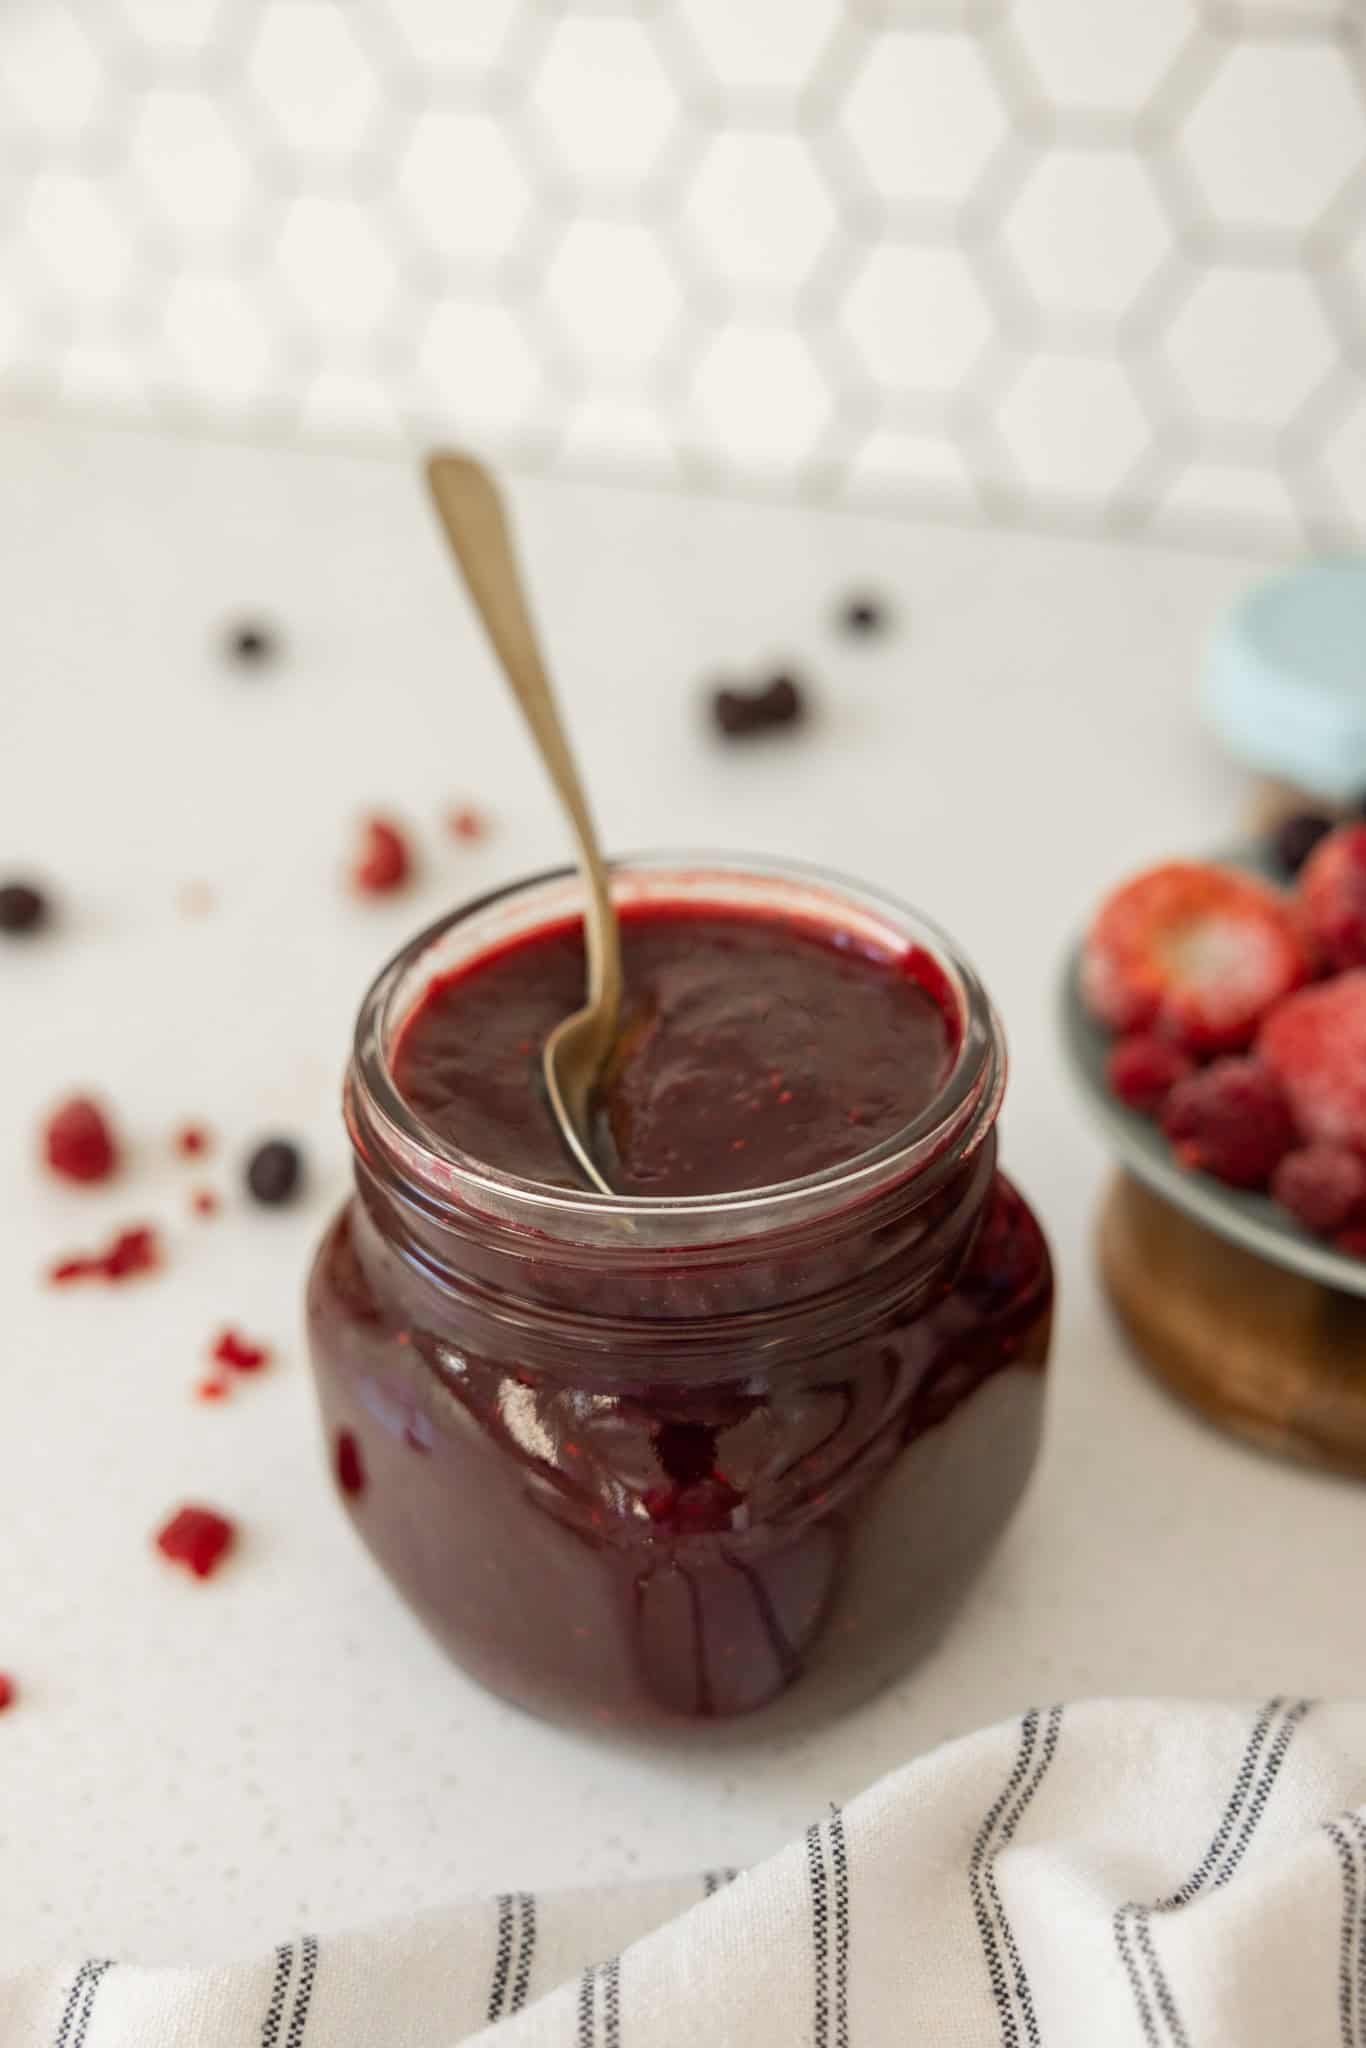
How To Store
I use mason jars for this jam storage but any glass container will do. Slowly pour the jam into your preferred container and let it cool at room temperature with the lid off for about an hour.
Place your lid on top and put into the fridge when cool.
This keep for 4 weeks in the fridge in an airtight container or jar.
If you enjoyed this recipe, be sure to share and tag me @sarahthereseco on Instagram and come back here to rate and leave a comment!
Quick Refrigerator Jam
Ingredients
- 2 Pounds Frozen Berries I use a mix of strawberries, blueberries and raspberries
- 2 Tablespoons Lemon Juice
- 1 1/2 Cup Sugar or Honey
- 3 Tablespoons Cornstarch or Gelatine
Instructions
- In a medium sized pot, add in your berries, lemon juice and sweetener of choice. Give this a good stir. Bring to a medium heat for about 5 minutes and keep the lid on. This will help to thaw the frozen berries. If you find the heat is too high and the berries are starting to cook or stick to the bottom of the pot, simply reduce the heat and stir.
- Once the berries have become thawed and the berries are quite soupy, grab your cornstarch, gelatine or other thickener. I use a sieve if using thickeners such as a cornstarch to ensure the jam does not have any white lumps throughout.
- Sift or add in your thickener and give this a constant stir for a few minutes. Let the jam then sit at a medium low heat for another 5-10 minutes. It may bubble a bit! Feel free to stir if concerned about the heat cooking the jam too much.
- Once the jam has thickened visibly, grab your hand blender or other tool like a ground beef press or even latte spoon and start blending or squishing the berries. I like a smooth jam with a few chunks here and there. Blend or squish until desired consistency.
- Remove your jam from heat and let it cool another few minutes before transferring them into jars.
- I use mason jars for this jam storage but any glass container will do. Slowly pour the jam into your preferred container and let it cool at room temperature with the lid off for about an hour.
- Place your lid on top and put into the fridge when cool.
- This keep for 4 weeks in the fridge in an airtight container or jar.
Soo easy and delicious!!
Thank you SO much Chantal!
So yummy! We like our jam tart so I halved the sweetener in our batch and it was perfect. Thanks for this easy recipe! Way better/cheaper than store bought.
I loved this so much. I was way too excited to make it. Seriously you can’t mess this up. Would love to see more easy recipes like this that require so few ingredients ☺️
Great simple recipe! If you put the cornstarch is a small glass +a a few tablespoons of water, it dissolves + can add that to mixture – no lumps!
Yes, such a good tip! Thanks Michelle!
Can you freeze this? Just went strawberry picking and need to freeze LOTS of jam!
You can! I have frozen this for a handful of months at a time BUT you can always just freeze those strawberries too and whip up a fresh batch from frozen too!
I absolutely love this recipe! I used fresh strawberries that were in season so I was able to cut the sweetener down to 1/3 cup (I used honey!) This recipe cost me only $5 to make and produced 3x as much as I would receive at the store for that price. Thank you for sharing such a quick and delicious recipe!
This recipe was easy, quick, affordable, and tastes 10x better than store-bought! 10/10.
Hi, thanks for this recipe! Could you add your chocolate sauce/syrup recipe to this site? I saw it on one of your videos. I know my kids would love it. Thanks for all you do!
Ah yes, will have to add that! Thank YOU!
So easy and yummy! I did have to keep it on medium once I added my cornstarch and ended up adding a bit more to thicken, but I used all blueberries in mine, so I bet that’s why. I also successfully halved this using a lb of berries, 3/4 cup honey, 1 tbsp lemon juice. Your sweetener amount was PERFECT. This with a couple pieces of sourdough will be the perfect quick Lord’s day breakfast!
This was so easy and turned out delicious!
Love this recipe! We’re no longer buying jam from the supermarket! Thank you
Another great recipe! Thanks! 🙂