As far as pantry staples go, this one is easily in our top three. Sourdough breadcrumbs are amazing. From making your burger patties incredible to adding that perfect crispy crust to your chicken, these breadcrumbs are versatile and delish.
If you are looking for a gut friendly alternative to store bought breadcrumbs, you are where you need to be. We are using sourdough bread (homemade of course) to create sourdough breadcrumbs that will be easily used in a variety of dishes.
Be sure to try out my Crispy Sourdough Chicken Tenders recipe after your first batch of sourdough bread crumbs is made!
Why Sourdough?
I was gluten free for years after experiencing migraines and headaches anytime I touched gluten. A friend told me that they found they were able to enjoy ALL glutenous goodness as long as it was made with a fermented sourdough starter. This intrigued me because GF bread was just not doing it for me.
Within 24 hours, I got myself a sourdough starter and began to figure this out. Within a week of eating sourdough fermented breads, I boasted of zero migraines/headaches AND even saw my skin clearing up.
Fast forward to now, I bake all our own bread by use of an active sourdough starter or with the discard. Either way, my body (and my family’s body!) loves it!
Here are some sourdough facts for you:
- Sourdough is easy to digest: It contains a natural bacteria and germ in the fermentation process that will break down the starches in the grains before they even hit your stomach. Basically, very gentle on your gut!
- Blood sugar friendly: With sourdough being fermented, it works against any bad starches and ingredients that can cause your blood sugar levels to rise and spike.
- Full of good acid: The acid in sourdough breads can help your body process foods easier and absorb more minerals, yielding a stronger immune system and better health overall.
- Good for GF sensitivities: In the creation of sourdough bread, gluten is broken down overtime and has changed into amino acids before you enjoy it. This aids in easier digestion and gut health.
- Less preservatives: Sourdough preserves itself naturally using acetic acid, nothing fake here!
- The flavour: Sourdough has a tang and flavour like no other bread. It is hearty, satisfying and extremely delicious.

Sourdough Breadcrumb Ingredients
- Sourdough Bread: Of course we need sourdough bread to make these crumbs! You can buy this from the store, or even better, make it from home! And yes, that is our only ingredient!
If you need some sourdough bread recipes, my favorite ones in use for these breadcrumbs are my Soft Sourdough Sandwich Loaf and my Beginner Sourdough Artisan Round Loaf.
To make and store this recipe, I use these tools. Click the text to shop:
*Some links are affiliate*
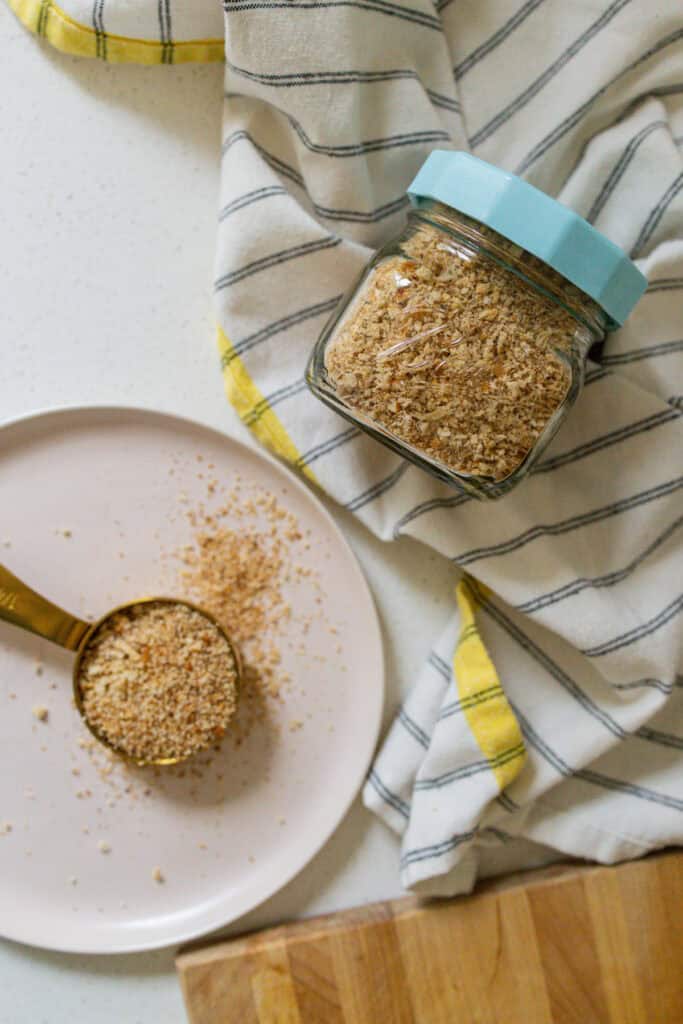
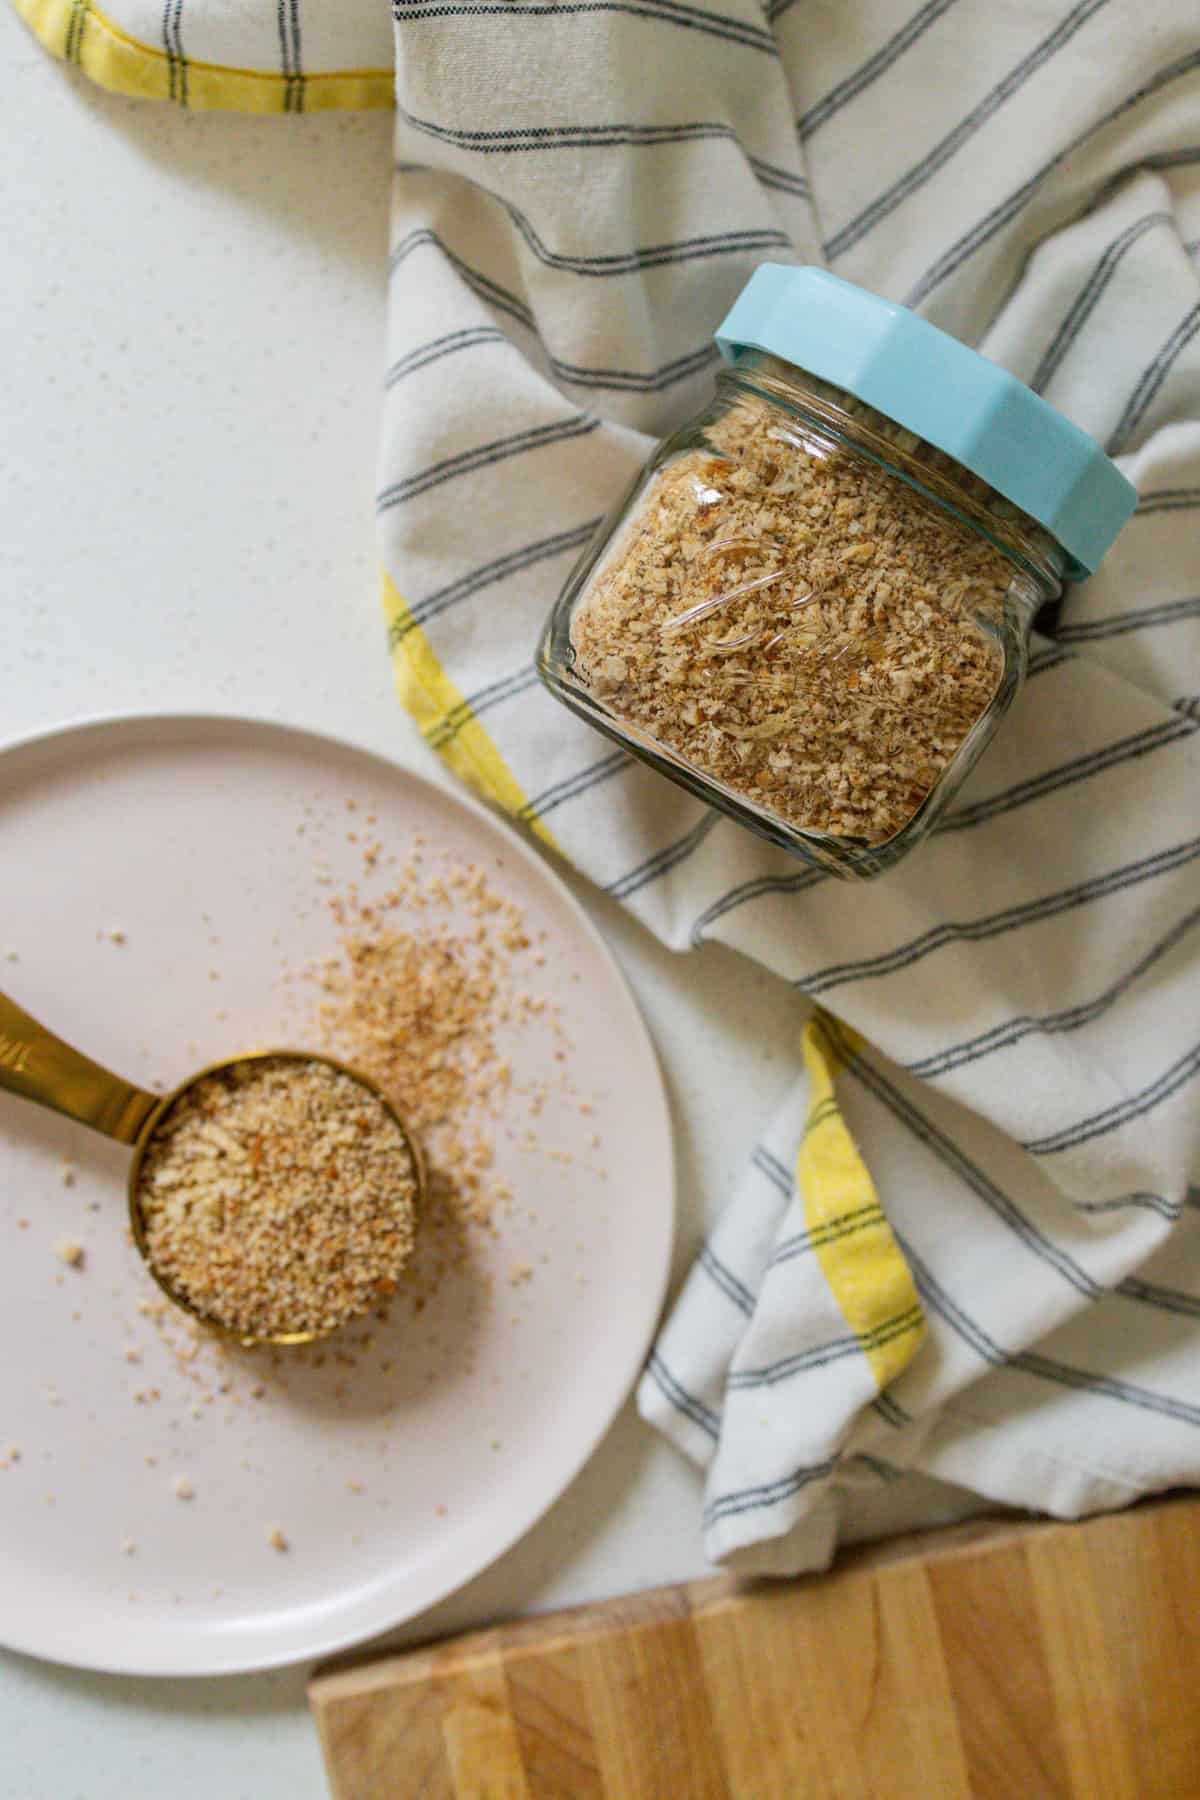
In order for us to store these sourdough breadcrumbs easily, longterm and at room temperature, we need to ensure they are fully baked and cooled before placing into an airtight container. The baking process ensures the moisture is removed from the crumbs and the cooling process removes any heat that could cause moisture in the jar!
How To Make Sourdough Breadcrumbs From Scratch
These are quick and simple to make! They are ready for same day use and can be stored for up to 2 months at room temperature.
I recommend a good food processor or blender to properly blend and break down the bread into crumbs. You also have total control over how big or small you are wanting these crumbs. A small crumb is perfect for burgers or meatballs and a larger crumb is great for breading chicken!


STEP 1: TOAST
Using either your toaster or the broiler in your oven, toast the bread slices until very brown.
STEP 2: BLEND
Take your toast and place it into your blender or food processor. Start pulsing them on a medium/high speed until quite crumbly. Then turn your machine to high and continue to blend until just crumbs remain.
STEP 3: BAKE
Once you are left with just breadcrumbs, place them onto the cookie sheet with siding and spread into an even layer. Bake for 10 minutes or until crumbs are very brown. We want to remove moisture to reduce chance of molding, encourage a longer shelf life and for texture!
STEP 4: COOL & STORE
Remove the breadcrumbs from the oven and let cool for at least 3 hours on the sheet. This, again, will help remove moisture.
Stay In The Loop!
Sign up and get my posts sent right to your inbox!
How To Store
Keep your breadcrumbs in an airtight container, like a sealed jar, for 2 months at room temperature.
If you enjoyed this recipe, be sure to share and tag me @sarahthereseco on Instagram and come back here to rate and leave a comment!
Sourdough Breadcrumbs
Ingredients
- 6 Slices Any Sourdough Bread
Instructions
- Using either your toaster or the broiler in your oven, toast the bread slices until very brown. Both sides need to be toasted, so if broiling, be sure to flip the bread slices for an even cook overall.
- Remove from the toaster/oven and let them sit to cool for just a minute or so.
- Take a knife and cut the toast into large chunks. I usually just stack the bread on top of each other and cut them with a large sharp knife.
- Preheat oven to 350 degrees.
- Take your toast and place it into your blender or food processor. Start pulsing them on a medium/high speed until quite crumbly. Then turn your machine to high and continue to blend until just crumbs remain. If you find it is tricky to get all the bread crumbed in one go, do this in batches OR after blending, remove everything onto a cookie sheet with siding, grab the larger pieces that still need to be crumbed, place back into your blender and go again until everything is crumbs!
- Once you are left with just breadcrumbs, place them onto the cookie sheet with siding and spread into an even layer. Bake for 10 minutes or until crumbs are very brown. We want to remove moisture to reduce chance of molding, encourage a longer shelf life and for texture!
- Remove the breadcrumbs from the oven and let cool for at least 3 hours on the sheet. This, again, will help remove moisture.
- Store in an airtight container for 2 months at room temperature.
I previously made breadcrumbs and couldn’t understand why they went mouldy. Thanks Sarah for sharing this recipe, I didn’t have this issue after I followed your instructions.
Hi Monica! Glad this recipe worked well for you!